So, you’ve got an old toilet that’s seen better days, or maybe you’re just upgrading to something more efficient. You’re thinking, “How hard can it be to swap out a toilet?” And you know what? For a lot of folks, it’s a perfectly doable DIY project. But there are definitely times when you’re better off calling in someone who does this day in and day out. Let’s break down what you need to know before, during, and after the job, and when to pick up the phone instead of the wrench.
Before You Even Think About Draining That Bowl
First things first: preparation is key. You don’t want to be halfway through this job only to realize you’re missing a crucial part or tool. Here’s what I tell folks to consider:
- Measure, Measure, Measure: This is huge. The most important measurement is the “rough-in” – that’s the distance from the wall behind the toilet to the center of the drainpipe (or the bolts holding the toilet down). Most toilets are 12 inches, but older homes, especially some of those charming bungalows around Uptown Whittier, might have 10-inch or even 14-inch rough-ins. Get this wrong, and your new toilet won’t fit.
- Get the Right Toilet: Beyond the rough-in, think about height (comfort height is popular), flush power, and water efficiency. A good low-flow toilet can save you money on your water bill, which is always a plus here in Southern California.
- Gather Your Tools & Supplies: You’ll need a new wax ring (or a wax-free seal, which I often prefer), new toilet bolts and nuts, a flexible supply line, a sponge, a bucket, a large adjustable wrench, a utility knife, a small hacksaw (for cutting bolts), and some rags. Maybe a few old towels you don’t mind getting dirty.
- Check Your Shut-Off Valve: Before you buy anything, try turning the water off to your current toilet. If that valve is seized up, leaky, or just plain won’t budge, you’ve got a bigger project on your hands than just a toilet swap. That’s a good sign to call a plumber. You don’t want to be wrestling with a stuck valve while water is gushing out.
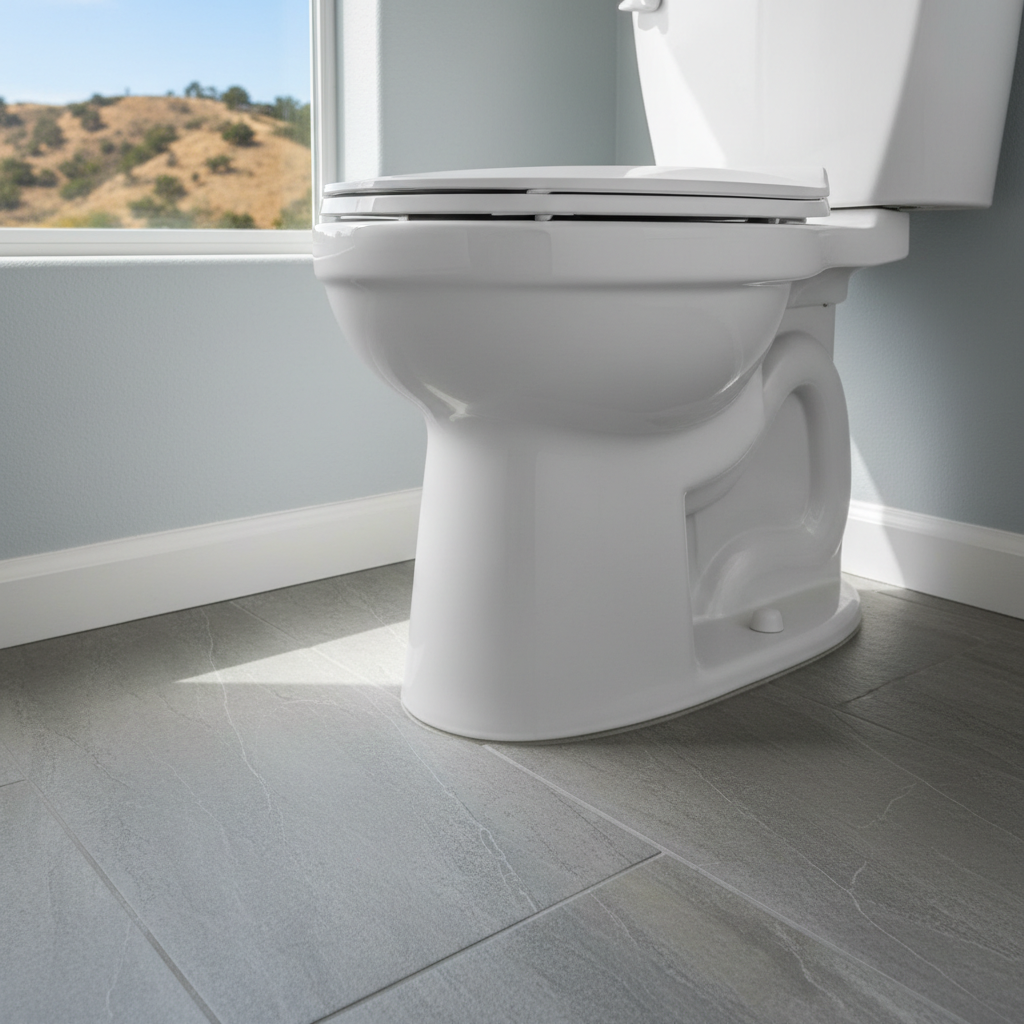
The Installation Process: What to Expect
Alright, you’ve got your new toilet, your tools, and your courage. Here’s the general rundown:
- Turn Off the Water & Drain: Shut off the water supply valve behind the toilet. Flush the toilet to empty the tank and bowl as much as possible. Use your sponge and bucket to get out any remaining water.
- Disconnect & Remove the Old Toilet: Disconnect the supply line. Unbolt the toilet from the floor. Rock it gently to break the wax seal, then lift it straight up and out. Be warned: even empty, toilets are heavy. Get a helper if you can.
- Clean the Flange: Scrape off all the old wax from the toilet flange on the floor. This needs to be clean for the new seal to work properly. Inspect the flange – if it’s cracked, corroded, or sitting too low, you’ll need to repair or replace it. This is another point where a pro might be needed. A bad flange means a leaky toilet, guaranteed.
- Install the New Wax Ring/Seal: Place the new wax ring (or wax-free seal) onto the drain opening on the floor, or directly onto the base of the new toilet. Make sure the new bolts are in place on the flange.
- Set the New Toilet: Carefully lower the new toilet straight down onto the bolts and the wax ring. Once it’s down, don’t twist or rock it; that can break the seal. Press down firmly and evenly to compress the wax.
- Secure the Toilet: Hand-tighten the nuts onto the bolts, then use your wrench to tighten them a bit more. Don’t overtighten! You can crack the porcelain. Just snug them down until the toilet is stable and doesn’t rock. Cut off any excess bolt length with your hacksaw, then put on the bolt caps.
- Connect the Supply Line & Turn On Water: Attach the new flexible supply line to the toilet tank and the shut-off valve. Hand-tighten, then give it a small snug with the wrench. Slowly turn the water supply back on.
- Check for Leaks: Let the tank fill. Flush a few times. Look closely around the base of the toilet and the supply line connections for any drips or puddles.
When to Call a Pro (Like Whittier Bathroom Solutions)
Look, I’m all for saving a buck and learning new skills. But there are times when DIY turns into “Darn It Yourself.” Here’s when you should absolutely pick up the phone:
- The Flange is Damaged: If that toilet flange is broken or rusted out, you need a proper repair or replacement. This often involves cutting into the floor, and that’s not a beginner’s job.
- Your Shut-Off Valve is Stuck or Leaking: If you can’t turn off the water, you can’t start the project. Replacing a valve can be tricky and might require temporarily shutting off water to your whole house.
- You Find Water Damage: When you pull up the old toilet, if you see rotten subfloor or joists, you’ve got a much bigger issue than just a toilet swap. That needs to be addressed properly to prevent structural problems and mold.
- The Toilet Keeps Leaking After Installation: You’ve tried everything, re-seated it, checked the connections, and it’s still dripping. Don’t let a small leak turn into a big headache.
- You’re Just Not Comfortable: If the idea of wrestling a heavy porcelain fixture, dealing with old plumbing, or potentially making a mess fills you with dread, there’s no shame in calling in the cavalry. That’s what we’re here for.
Replacing a toilet can be a rewarding project, and for many homeowners, it’s a great way to update a bathroom without a huge expense. Just remember to be honest with yourself about your comfort level and skill set. Sometimes, a few hours of professional labor is worth the peace of mind. If you’re in Whittier and run into trouble, or just want it done right the first time, you know who to call.